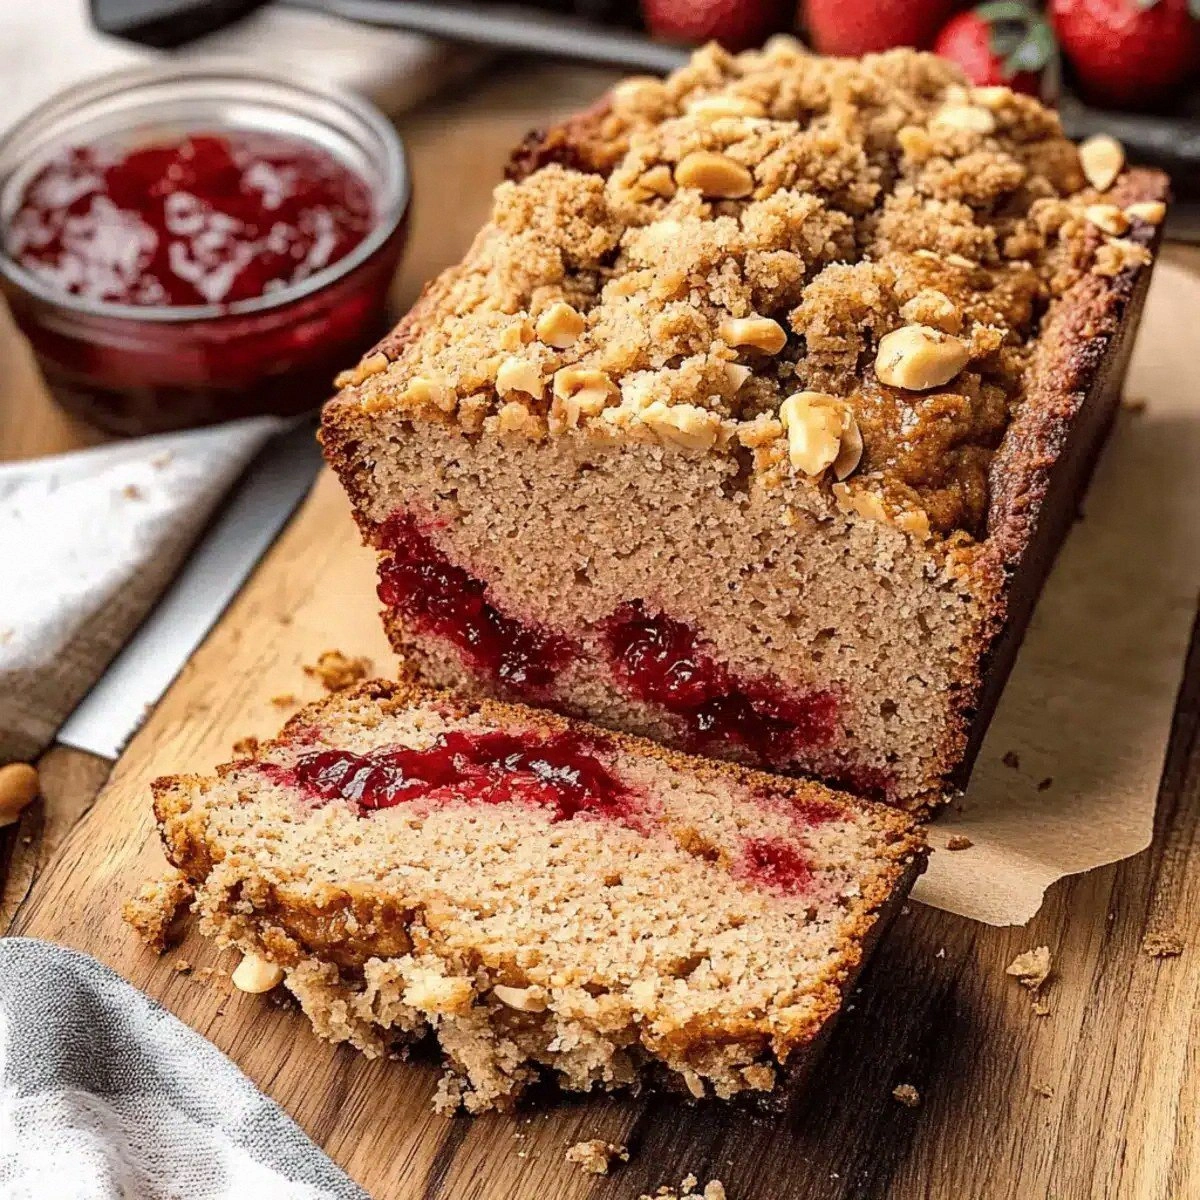
Picture this: it’s a rainy Saturday, the kind that makes you want to curl up with a blanket, a good movie, and something that feels like a warm hug for your taste buds. I was halfway through binge‑watching my favorite series when a sudden craving for something sweet, silky, and utterly indulgent struck like a bolt of lightning. I raided the pantry, found a lone pack of Lotus Biscoff biscuits, a jar of that caramel‑spiced spread, a splash of heavy cream, and a can of sweetened condensed milk, and thought, “What if I could turn these humble ingredients into a dessert that doesn’t even need an oven?” That thought turned into a kitchen experiment that almost turned into a disaster—until I discovered the secret to a perfectly set, creamy icebox cake that holds together like a dream.
The moment the Biscoff spread hit the mixing bowl, the kitchen was flooded with a scent that could only be described as a cozy café on a crisp autumn morning—spicy, buttery, with a whisper of caramel that made my nose do a little happy dance. The heavy cream, when whipped, turned into a cloud of silk that seemed to float above the countertop, while the condensed milk added a glossy, sugary sheen that caught the light like tiny fireworks. I could hear the faint crackle of the biscuits as I gently pressed them into the pan, each one snapping with a satisfying, buttery crunch that promised a textural contrast that would make every bite an adventure.
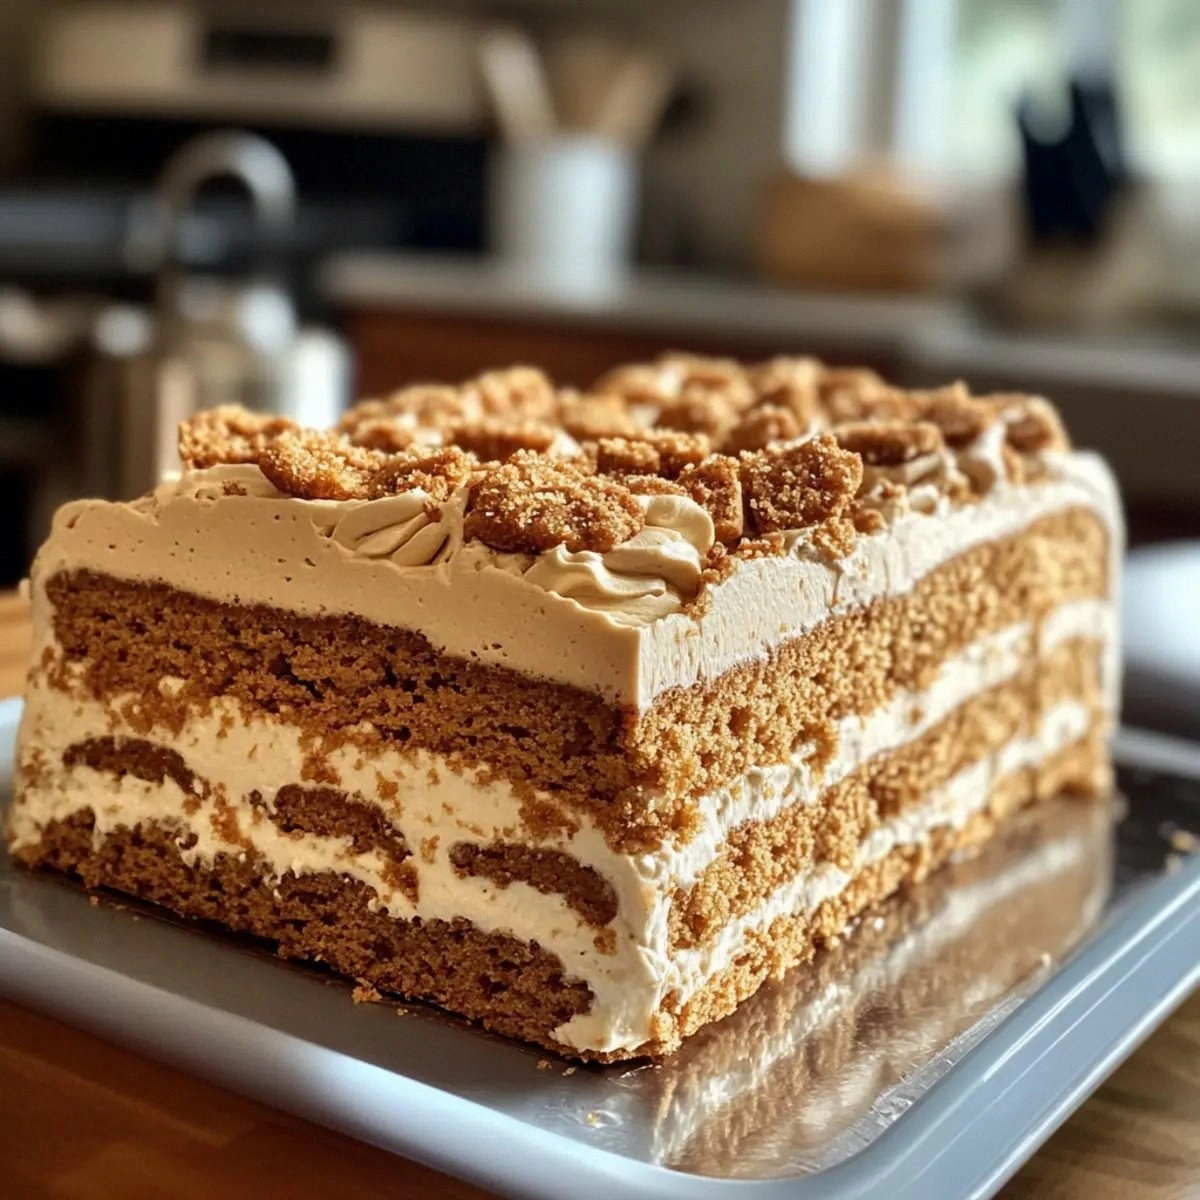
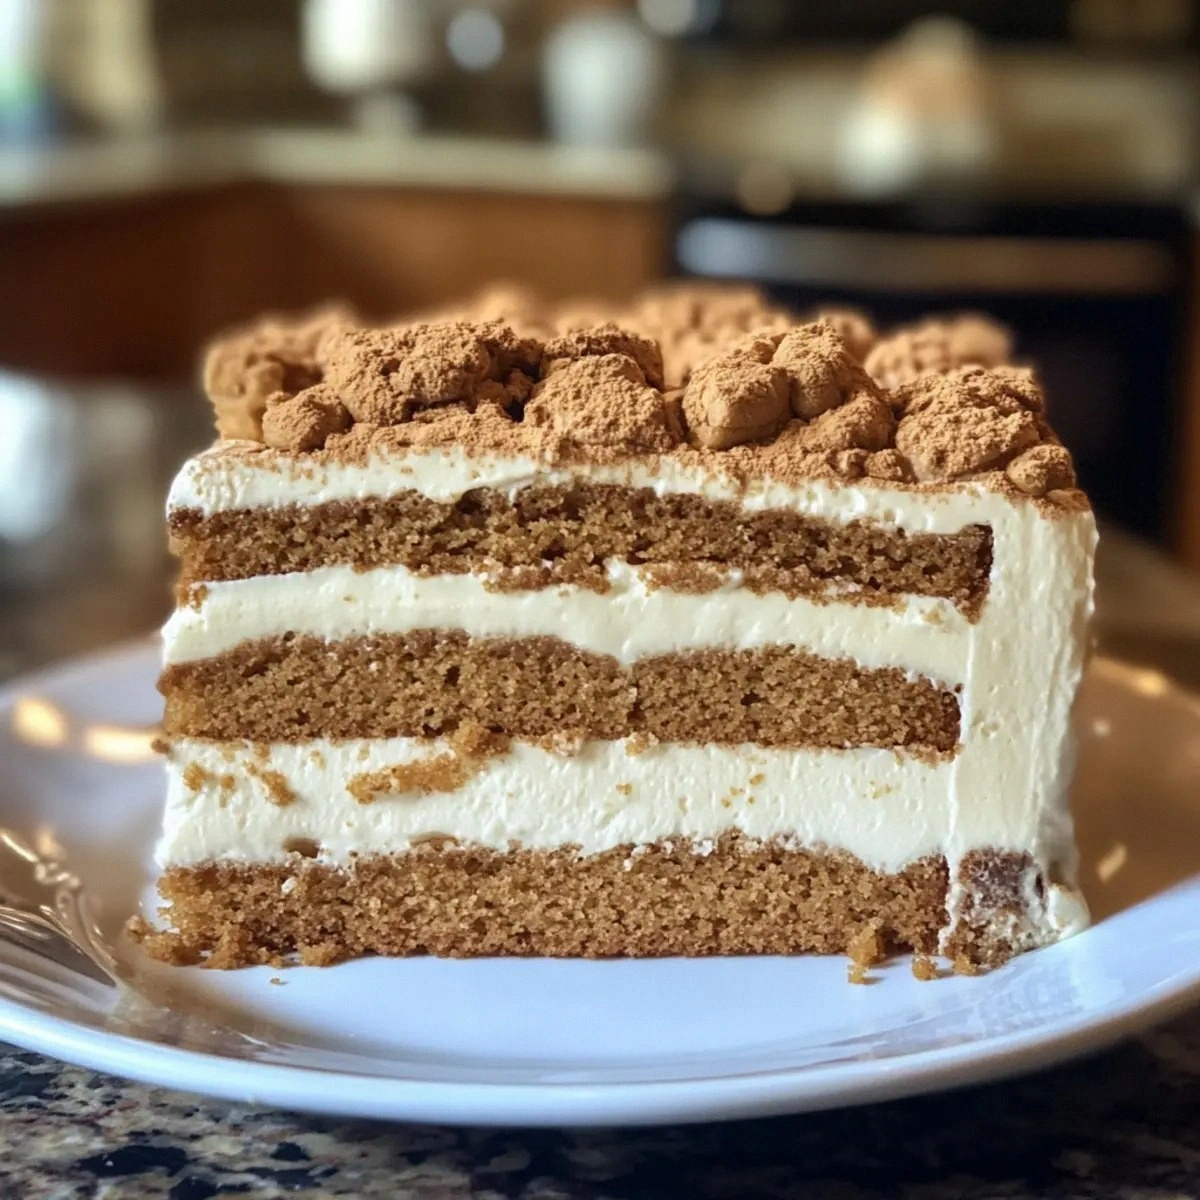
Most no‑bake cakes out there either turn out soggy, flavorless, or just plain boring. This version, however, is a game‑changer. By layering the Biscoff spread and whipped cream mixture between layers of perfectly softened biscuits, you get a dessert that’s as firm as a traditional cake yet as airy as a mousse. The secret? A brief chill in the freezer that lets the flavors meld together while the biscuits absorb just enough moisture to become tender without turning mushy. It’s a delicate balance that most recipes miss, but I’ve nailed it down to a science.
And here’s the kicker: I’m about to reveal a tiny technique involving a quick “flash‑freeze” that takes the texture from good to divine—something you won’t find in any other blog post. Trust me, you’ll be daring your friends to take a bite without going back for seconds. Let me walk you through every single step — by the end, you’ll wonder how you ever made it any other way.
What Makes This Version Stand Out
This isn’t just another copy‑paste icebox cake. Below are the reasons why this rendition earns a permanent spot on your dessert roster.
- Flavor Explosion: The caramel‑spiced Biscoff spread infuses every bite with a warm, honey‑nutty depth that outshines generic chocolate spreads.
- Texture Harmony: A silky, mousse‑like cream layer meets the soft‑yet‑chewy biscuit, creating a mouthfeel that’s both comforting and surprising.
- Simplicity: No oven, no mixer (unless you love a hand‑whisk), just a few pantry staples and a freezer—perfect for lazy weekends.
- Unique Twist: A quick flash‑freeze step locks in moisture, preventing soggy layers and giving the cake a firm, slice‑ready structure.
- Crowd‑Pleaser: Even the pickiest eaters, from kids to grandmas, can’t resist the sweet, caramel aroma that fills the room.
- Premium Ingredients: Using authentic Lotus Biscoff spread and biscuits guarantees that signature flavor you can’t fake.
- Make‑Ahead Magic: Once set, the cake can sit in the fridge for up to three days, getting even better as the flavors marry.
- Zero Burn Risk: Forget watching a pot boil or a cake rise—this dessert eliminates the anxiety of kitchen fires.
Inside the Ingredient List
The Flavor Base
The star of the show is the Lotus Biscoff spread. Made from caramelized biscuits, it delivers a deep, buttery caramel flavor with a hint of spice that’s impossible to replicate with generic spreads. If you skip it, you lose the signature taste that makes this cake unforgettable. A good swap, if you’re in a pinch, is a mixture of cookie butter and a dash of ground cinnamon, but expect a slight flavor shift.
The Texture Crew
Heavy cream is the backbone of the silky layer. When whipped, it creates a light, airy texture that balances the dense biscuit layers. If you use low‑fat cream, you’ll end up with a thinner, less stable mixture that can collapse during chilling. For a dairy‑free twist, try whipping coconut cream—just make sure it’s well chilled for maximum volume.
The Unexpected Star
Sweetened condensed milk adds a glossy richness that ties the cream and spread together, acting like edible glue. Its thick, caramel‑sweet profile ensures every bite feels luxurious without being overly sugary. Omitting it would make the filling too airy and lacking that satisfying body.
The Final Flourish
Lotus Biscoff biscuits themselves are the structural element. Their subtle spice and buttery crunch absorb just enough moisture to become tender yet retain a slight bite. If you crush them too fine, the cake can become gummy; if you leave them too chunky, the layers won’t meld properly. A perfect size is a bite‑sized crumble that still holds its shape.
Everything's prepped? Good. Let’s get into the real action…
The Method — Step by Step
First, gather all your ingredients and let the heavy cream sit in the fridge for at least 30 minutes; cold cream whips faster and holds peaks longer. While the cream chills, open the can of sweetened condensed milk and give it a quick stir to smooth out any caramelized crust that may have formed on top. I dare you to taste this and not go back for seconds—once you try the sweet‑cream base, there’s no turning back.
Kitchen Hack: Chill the mixing bowl and whisk attachment for 10 minutes before whipping the cream for extra volume.Next, pour the heavy cream into the chilled bowl and begin whisking on low speed. As it thickens, gradually increase to medium‑high, watching for soft peaks. When the cream starts to hold shape, drizzle in the sweetened condensed milk while the whisk is still moving, ensuring a smooth, glossy blend. This is the moment of truth—if the mixture looks too runny, keep whipping a bit longer; if it looks grainy, you’ve over‑whipped and need to rescue it with a splash of milk.
Now, fold in the Lotus Biscoff spread. Use a spatula and a gentle folding motion so the airy cream doesn’t deflate. The spread should melt slightly into the cream, creating a uniform caramel‑spiced mousse that looks like liquid gold. The scent at this point is intoxicating; you’ll hear the faint sigh of the kitchen as the aroma settles.
While the cream mixture rests, line a rectangular dish (about 9×13 inches) with parchment paper. This makes removal a breeze later on. Start by laying a single layer of Biscoff biscuits, arranging them side by side without gaps. I’ll be honest — I ate half the batch before anyone else got to try it, so make sure you have a backup plan for the biscuit cravings.
Spread a generous layer of the Biscoff‑cream mixture over the biscuits, using a spatula to smooth it out to the edges. The mixture should coat the biscuits like velvet, seeping into the tiny cracks. Then, repeat the process: another biscuit layer, another cream layer, and so on, finishing with a final cream topping. The top should be smooth and slightly glossy; this is where the flash‑freeze will work its magic.
Watch Out: Don’t press the biscuits too hard; you’ll crush them and lose the delicate texture that makes each bite special.Here comes the game‑changer: place the assembled cake in the freezer for exactly 10 minutes—no more, no less. This quick chill “sets” the layers, allowing the biscuits to absorb just enough moisture without becoming soggy. The result is a firm yet slice‑able cake that holds its shape when you cut it. Okay, ready for the game‑changer?
After the flash‑freeze, transfer the cake to the refrigerator and let it chill for at least 2 hours, preferably overnight. This long chill deepens the flavors, letting the caramel notes of the Biscoff spread mingle with the sweet cream. Patience is key; the longer you wait, the better the texture and taste.
When you’re ready to serve, lift the cake out of the pan using the parchment paper, place it on a cutting board, and slice with a hot knife (dip the blade in hot water, wipe dry, then cut). The hot knife ensures clean slices that don’t crumble. Serve each piece with a dollop of whipped cream or a drizzle of extra Biscoff spread for an extra indulgent finish.
Kitchen Hack: Warm the knife under hot tap water for 10 seconds before each cut to achieve perfect, non‑crumbling slices.
That’s it — you did it. But hold on, I’ve got a few more tricks that’ll take this to another level…
Insider Tricks for Flawless Results
The Temperature Rule Nobody Follows
Never underestimate the power of a cold bowl. By chilling your mixing bowl and whisk for at least 10 minutes, you give the cream a head start, resulting in a fluffier, more stable mousse. I once tried to skip this step in a hurry, and the cream collapsed into a soupy mess—lesson learned. The cooler environment also slows down the incorporation of air, giving you more control over peak formation.
Why Your Nose Knows Best
When the Biscoff spread melts into the cream, trust your sense of smell to gauge readiness. A faint caramel aroma signals that the blend is smooth and fully incorporated. If you smell a raw, buttery scent, keep folding a bit longer. Your nose is a more reliable indicator than a timer for this step.
The 5‑Minute Rest That Changes Everything
After layering the cake but before the flash‑freeze, let it sit at room temperature for five minutes. This short pause allows the biscuits to soften just enough to bind without becoming soggy. Skipping this micro‑rest can lead to a dry, crumbly texture that feels like chewing on cardboard.
Slice Like a Pro
Use a hot, wet knife for each cut. The heat creates a clean glide, while the moisture prevents the cream from sticking to the blade. If you don’t have a hot water source nearby, a quick dip in the microwave for a few seconds works just as well.
Flavor Boost with a Pinch of Salt
Adding a pinch of sea salt to the cream mixture heightens the caramel notes and balances the sweetness. It’s a subtle trick that professional pastry chefs swear by. Without it, the dessert can taste one‑dimensional, especially if you’re serving it to a crowd that prefers nuanced flavors.
Creative Twists and Variations
This recipe is a playground. Here are some of my favorite ways to switch things up:
Chocolate‑Swirl Delight
Stir in a tablespoon of melted dark chocolate into the cream mixture before folding in the Biscoff spread. The result is a marbled effect that adds a deep cocoa undertone, perfect for chocolate lovers who still crave that buttery caramel base.
Berry Burst
Layer fresh raspberries or sliced strawberries between the biscuit layers. The tartness of the berries cuts through the richness, creating a refreshing contrast that feels like summer in a bite.
Nutty Crunch
Sprinkle toasted chopped hazelnuts or almonds over the middle cream layer. The added crunch gives an extra textural surprise that elevates the overall experience.
Spiced Autumn
Mix a pinch of ground cinnamon, nutmeg, and a dash of clove into the Biscoff spread before folding. This turns the cake into a cozy, autumn‑ready dessert that pairs beautifully with a cup of chai.
Vegan Version
Swap heavy cream for chilled coconut cream and use a plant‑based condensed milk. The flavor profile shifts slightly toward tropical, but the creamy texture remains intact, making it a great option for dairy‑free guests.
Storing and Bringing It Back to Life
Fridge Storage
Cover the cake tightly with plastic wrap or store it in an airtight container. It will stay fresh for up to three days, and the flavors will continue to meld, becoming even more harmonious with each passing hour.
Freezer Friendly
If you need to keep it longer, slice the cake into individual portions, wrap each piece in cling film, and then place them in a freezer‑safe bag. It can be frozen for up to one month. When you’re ready to enjoy, let it thaw in the fridge for a few hours.
Best Reheating Method
Before serving a frozen slice, place it on a plate, add a tiny splash (about a teaspoon) of water around the edges, and microwave for 10‑15 seconds. The steam revives the creamy layers, making them as luscious as when they were fresh.