Picture this: I’m standing in a kitchen that smells like burnt toast, the clock ticking down the seconds to dinner, and my friend challenges me to turn a batch of ordinary eggs into something that feels like a culinary revelation. I stare at the fridge, pull out four large eggs, and think, “I dare you to taste this and not go back for seconds.” That moment of culinary desperation is the spark that ignites the Air Fryer Hard Boiled Eggs recipe, a method that will have you saying, “This is hands down the best version you'll ever make at home.”
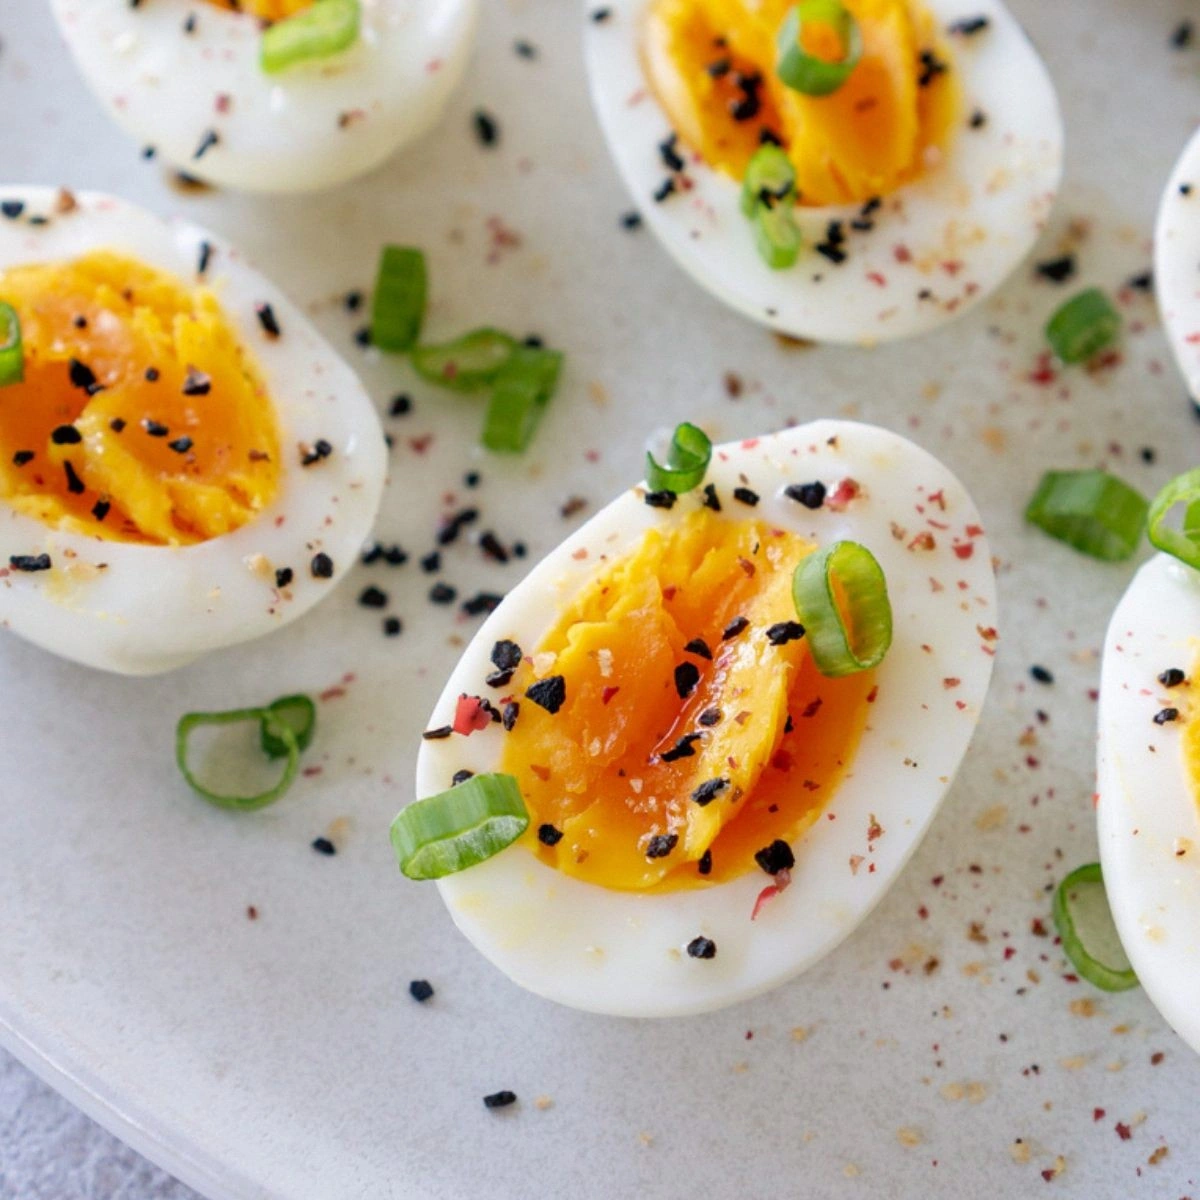
The first thing you notice is the sound—a soft crackle as the eggs hit the air fryer basket, the faint hiss of hot air swirling around them, and the subtle aroma of a slightly toasted shell. The visual is a golden halo around each egg, a promise of a silky yolk inside. When you break one open, the yolk glistens like liquid gold, and the whites are firm yet tender, almost like a delicate custard. The texture is a delightful contrast: a crisp shell that shatters like thin ice, a tender white that feels like a cloud, and a yolk that’s velvety and rich. The taste is pure, uncomplicated, and utterly satisfying.
What makes this version stand out is that it eliminates the need for boiling water, a step that often leads to overcooked whites or uneven yolks. The air fryer’s rapid, even heat cooks the eggs in a fraction of the time, locking in moisture and flavor. The result is a dish that can be made in under 15 minutes, with minimal cleanup and maximum flavor. You’ll find that the shell remains intact, making peeling a breeze, and the eggs keep their shape even when you slice them in half for salads or sandwiches. This method also opens up a world of creative possibilities, from adding spices to the shell to using the eggs in breakfast bowls or as a protein-packed snack.
I’m not just telling you this is great—I’m showing you how to do it step by step, because by the end you’ll wonder how you ever made hard boiled eggs any other way. And trust me, once you try this, you’ll want to experiment, add your own twists, and become the go-to egg guru in your circle. Let me walk you through every single step—by the end, you'll wonder how you ever made it any other way.
What Makes This Version Stand Out
- Speed: The air fryer cooks eggs in 10 minutes, a fraction of the time it takes to boil them in water. This means you can have a protein-packed breakfast ready while your coffee brews.
- Texture: The eggs come out with a firm white that holds its shape and a yolk that’s silky and slightly runny, unlike the rubbery whites that plague traditional boiling.
- Minimal Cleanup: No pots, no boiling water, no lingering steam—just a quick rinse of the basket and you’re done.
- Flavor Retention: The shell stays intact, preventing the eggs from absorbing water and losing flavor. The result is a richer, more concentrated taste.
- Versatility: These eggs can be eaten on their own, sliced into salads, or diced into a breakfast bowl. Add herbs or spices to the shell for extra flavor.
- Make‑Ahead Friendly: Prepare a batch, refrigerate, and reheat in the air fryer or microwave for a quick protein fix.
Alright, let’s break down exactly what goes into this masterpiece…
Inside the Ingredient List
The Core
The only ingredient you’ll need is the eggs themselves. Choose large eggs for the best balance of yolk to white; they’re the gold standard for flavor and texture. If you’re aiming for a richer yolk, go for organic or pasture‑raised eggs, as they tend to have deeper color and more buttery taste. Skipping this step would mean you’re not cooking anything at all—so keep those eggs handy!
The Shell Shield
The shell acts as a natural barrier, preventing the eggs from absorbing excess moisture and keeping the whites firm. Leaving the shell on also makes peeling easier because the membrane stays intact. Some people like to lightly salt the shell before cooking to add a subtle flavor, but that’s optional. If you decide to salt, a pinch of sea salt on each egg is all you need.
The Optional Boost
For those who like a bit of extra flavor, a sprinkle of smoked paprika or a drop of olive oil on the shell before cooking can add a smoky, savory note. If you’re a spice lover, try rubbing the shells with a mixture of pepper and garlic powder. Remember, the shell is the first point of contact, so any seasoning will be absorbed during the cooking process.
The Final Flourish
Once the eggs are done, a quick splash of cold water can help set the yolk and make peeling a breeze. If you’re going for a fancy presentation, drizzle a little truffle oil or a pinch of flaky sea salt on top of the peeled eggs. This final touch elevates a simple dish into something that feels gourmet.
Everything's prepped? Good. Let's get into the real action…
The Method — Step by Step
- Step 1: Preheat your air fryer to 350°F (175°C). The preheat ensures a consistent cooking environment and helps the eggs start cooking immediately when placed in the basket. This step takes about 2 minutes, but it’s essential for the perfect texture. While the air fryer warms up, gather your four large eggs and a small bowl of ice water for the quick chill.
- Step 2: Carefully place the eggs in the air fryer basket in a single layer. Do not stack them; this allows the hot air to circulate freely around each shell. If your air fryer has a small basket, you can line it with parchment paper to prevent sticking. Remember, the shell stays intact, so you don’t need to peel them yet.
- Step 3: Cook the eggs at 350°F for 10 minutes. The air fryer’s rapid heat will gently cook the whites and yolks, creating a silky center and firm whites. Keep an eye on the process; the eggs should be done when the shells are slightly darker and the whites are set but still tender. The aroma of toasted egg will fill the kitchen—an absolute delight.
- Step 4: While the eggs are cooking, fill a bowl with cold water and a handful of ice cubes. This will be used to stop the cooking process once the eggs are done. It’s a simple trick that preserves the yolk’s creamy texture.
- Step 5: When the timer buzzes, immediately transfer the eggs to the ice water bath. Let them sit for 5 minutes. This rapid chill stops the eggs from cooking further and makes peeling easier. The contrast between the hot shell and cold water creates a satisfying crackle as you break the shell.
- Step 6: Gently tap each egg on the counter to crack the shell, then roll it lightly to loosen the membrane. Peel the shell off, starting at the larger end where the air pocket is located. If you find the membrane stubborn, rinse the egg under cold water to help separate it from the white.
- Step 7: Rinse the peeled eggs under cool water to remove any shell fragments. Pat them dry with a paper towel. At this point, the eggs are ready to be enjoyed as is, or you can slice them for salads or breakfast bowls.
- Step 8: Optional – for a gourmet touch, drizzle a teaspoon of truffle oil or sprinkle flaky sea salt over the peeled eggs. This final flourish adds depth and elevates a simple dish into a culinary experience. Serve immediately, or store in the refrigerator for up to three days.
That's it — you did it. But hold on, I've got a few more tricks that'll take this to another level…
Insider Tricks for Flawless Results
The Temperature Rule Nobody Follows
Most people set the air fryer to 400°F, assuming a higher temperature equals faster cooking. In reality, 350°F is the sweet spot for eggs, as it allows the whites to set without overcooking the yolk. If you’re using a larger air fryer, you might need to reduce the time by a minute or two to avoid overcooking.
Why Your Nose Knows Best
Trust your nose when you’re cooking eggs. A faint, buttery aroma signals that the eggs are done. If the smell is too sharp or metallic, the eggs are still cooking. Use this sensory cue instead of a stopwatch for perfect results.
The 5‑Minute Rest That Changes Everything
That quick 5‑minute chill in ice water is more than a trick; it’s a science. The sudden temperature drop stops the heat from continuing to cook the egg, preserving the yolk’s texture. It also loosens the shell, making peeling a breeze and reducing the risk of a messy, broken yolk.
The Salted Shell Secret
Sprinkling a pinch of sea salt on each shell before cooking infuses a subtle savory note that permeates the egg. The salt also helps the shell stay intact, preventing cracks that could ruin the look and texture.
The Quick Reheat Trick
If you’re reheating a pre‑cooked egg, place it in the air fryer at 300°F for 2 minutes. This gentle reheating preserves the yolk’s creaminess and avoids drying out the white. Avoid microwaving, as it can make the egg rubbery.
Creative Twists and Variations
This recipe is a playground. Here are some of my favorite ways to switch things up:
Spicy Sriracha Surprise
Before cooking, lightly coat each egg with a thin layer of sriracha sauce. The heat will infuse the yolk, giving you a spicy kick that pairs perfectly with a crunchy salad.
Herb‑Infused Delight
Place a sprig of fresh rosemary or thyme on each egg’s shell. The herbs will release their aroma during cooking, imparting a fragrant, earthy flavor to the egg.
Cheesy Crust
Dust the shells with a pinch of grated Parmesan before air frying. The cheese melts onto the shell, creating a crispy, savory crust that adds a new dimension to the taste.
Citrus Zest Twist
Rub a small amount of lemon zest onto the shell before cooking. The citrus aroma will brighten the egg, making it a perfect companion for a light breakfast.
Smoked Paprika Palette
Sprinkle smoked paprika on the shells for a smoky flavor that complements the natural richness of the yolk. This variation works great for a brunch spread or a quick snack.
Storing and Bringing It Back to Life
Fridge Storage
Store peeled eggs in an airtight container in the refrigerator for up to three days. Keep them in a shallow dish to avoid moisture buildup, which can cause the eggs to become slimy.
Freezer Friendly
While eggs don’t freeze well in the shell, peeled eggs can be frozen for up to two weeks. Place them in a freezer bag, squeeze out excess air, and label with the date. Thaw in the refrigerator before use.
Best Reheating Method
To reheat, place the egg in the air fryer at 300°F for 2 minutes, or microwave on low power for 15 seconds. Add a tiny splash of water before reheating to steam the egg back to perfection. The result is a creamy yolk and a tender white, just like fresh.