I was standing in my kitchen on a frigid December night, staring at a half‑melted chocolate bar that had somehow escaped the freezer and was now a sticky mess on the counter. I swear the only thing louder than the wind howling outside was the sound of my own stomach growling, demanding something sweet, something festive, something that could turn a dull evening into a celebration. That moment of desperation turned into a dare from my roommate: “Make me a cookie that’ll make me forget the cold and the deadline!” I accepted, and after a few frantic experiments, I finally nailed a version that is, without a doubt, the best chocolate‑peppermint cookie you’ll ever make at home.
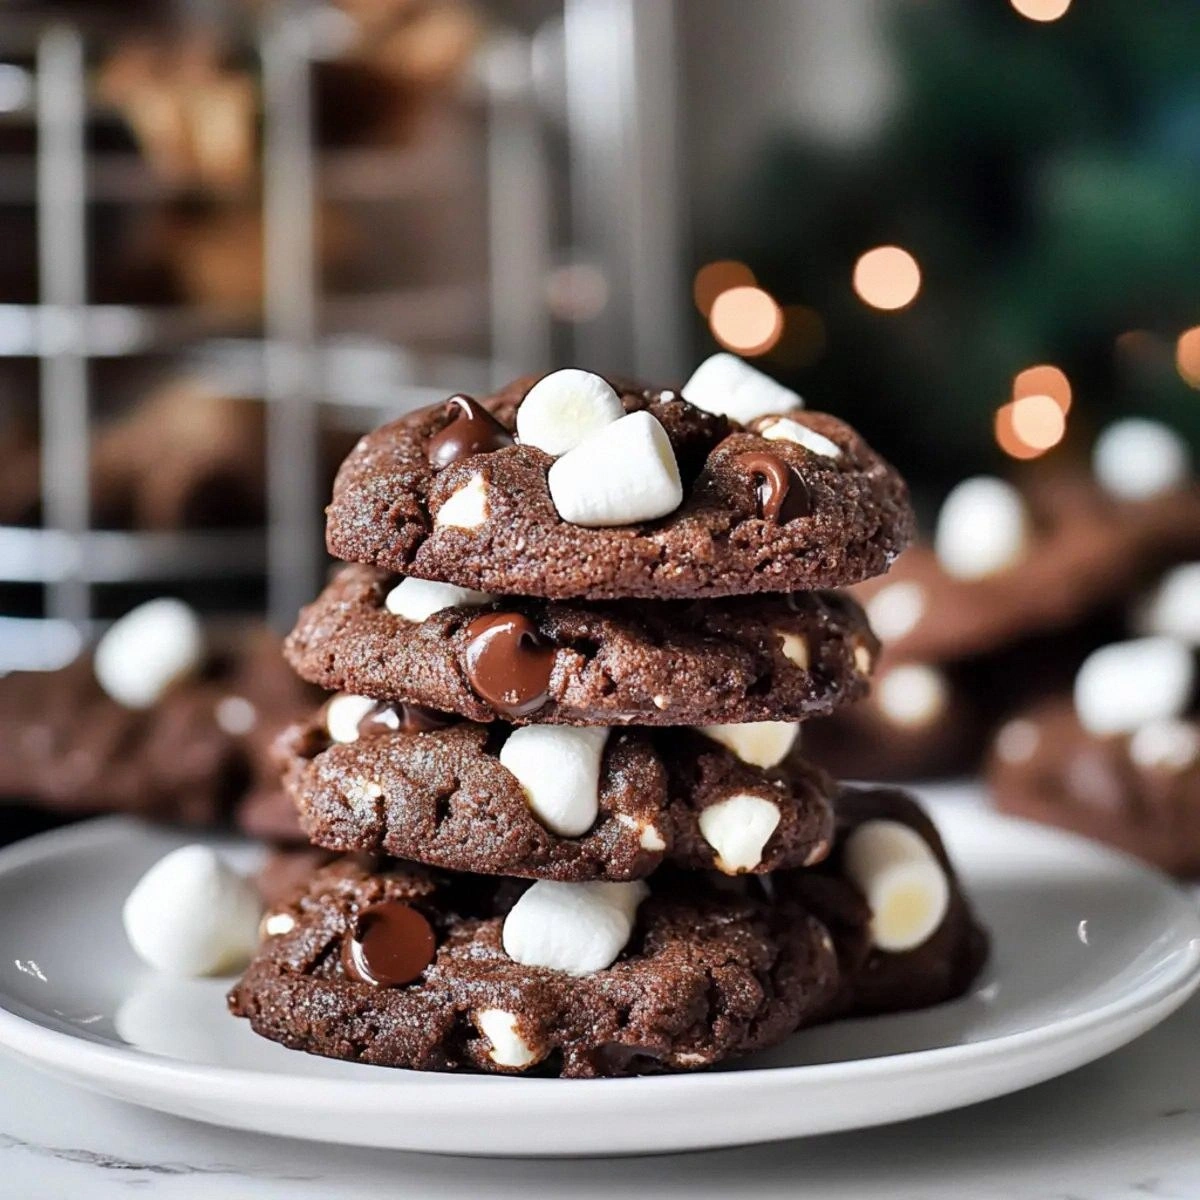
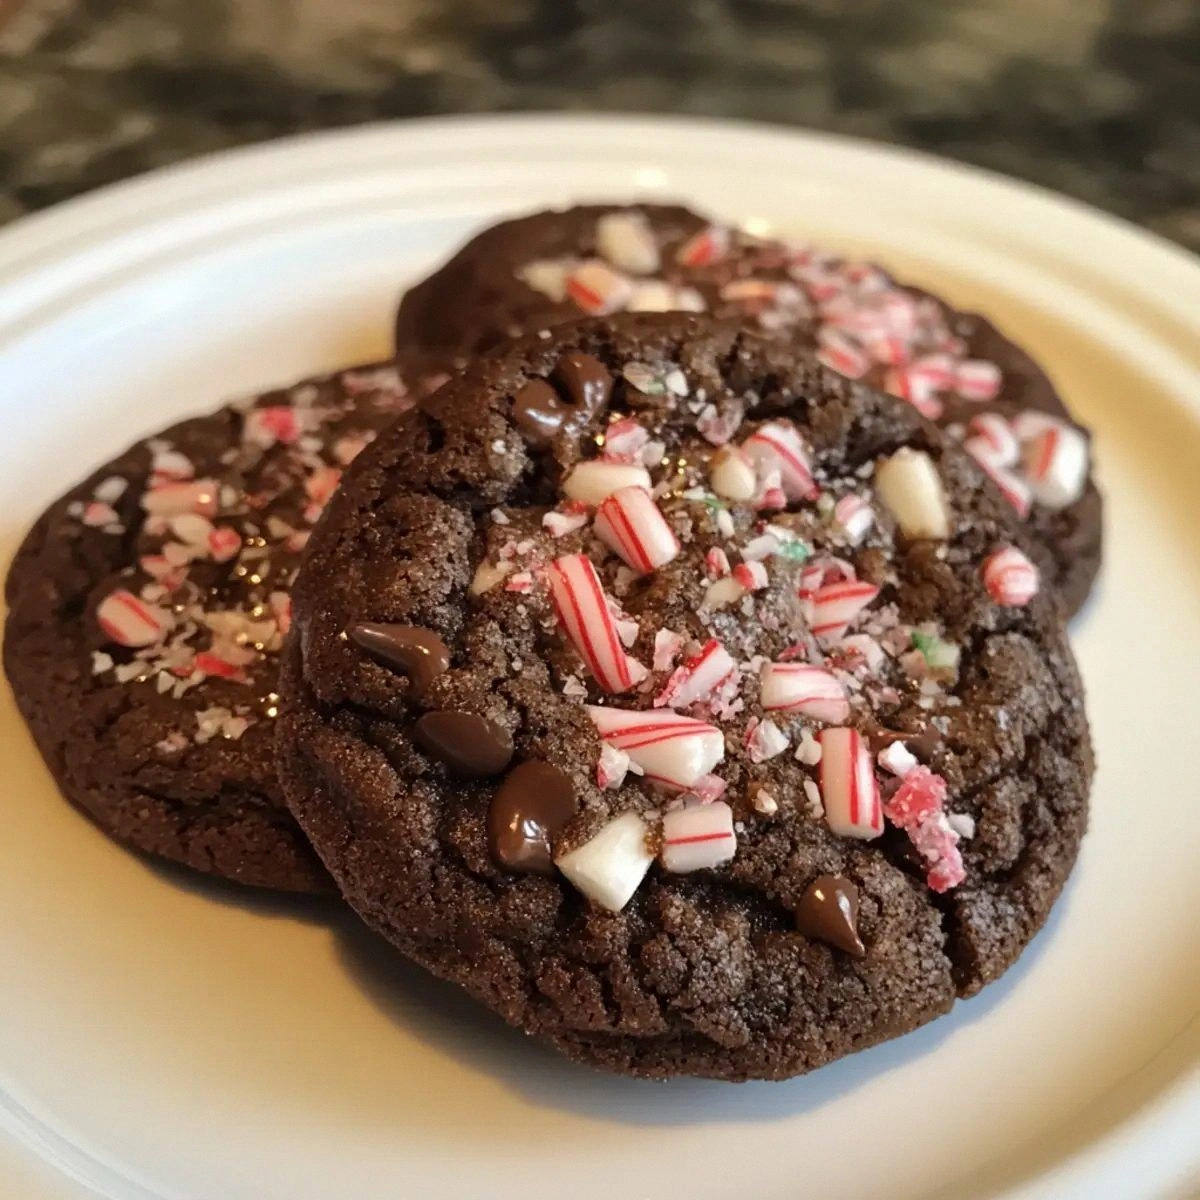
Picture this: the moment you open the oven, a wave of rich cocoa aroma mingles with the sharp, refreshing scent of peppermint, instantly transporting you to a bustling holiday market. The cookies themselves are a study in contrast—chewy, almost cake‑like interiors that give way to a thin, glossy crust speckled with shards of peppermint bark that crackle like tiny fireworks under your teeth. The first bite delivers a melt‑in‑your‑mouth chocolate hug, followed by a cool peppermint rush that makes you gasp, smile, and then immediately reach for another. I dare you to taste this and not go back for seconds; the combination is practically hypnotic.
What sets this recipe apart from the sea of “holiday cookie” posts out there is a handful of secret techniques that most bakers completely miss. First, we’re using Ghirardelli Peppermint Bark—yes, the premium stuff that costs a little extra but brings a buttery, minty crunch you can’t fake with generic candy canes. Second, the dough gets a brief chill in the fridge, which locks in moisture and gives the cookies that coveted chewy texture. And finally, we fold in crushed candy canes at the very end, preserving their bright color and crisp snap until the very last second. Most recipes get this completely wrong, but here’s what actually works.
I’ll be honest — I ate half the batch before anyone else got to try it, and that was the best mistake I ever made. The only thing missing was a little extra guidance, which is why I’m breaking down every single step, from measuring the flour to the exact moment you know the cookies are done. By the end, you’ll wonder how you ever made a holiday cookie any other way. Okay, ready for the game‑changer? Let me walk you through every single step — by the end, you’ll wonder how you ever made it any other way.
What Makes This Version Stand Out
- Flavor Explosion: The marriage of deep cocoa with bright peppermint creates a balanced sweet‑spicy profile that sings with every bite.
- Chewy Texture: A short chill and a careful bake time keep the interior moist, while the edges turn just enough to give a pleasant bite.
- Simplicity: Only nine ingredients, all of which you likely have on hand or can grab at the grocery store in under ten minutes.
- Premium Ingredient: Ghirardelli Peppermint Bark adds a buttery crunch that cheap candy canes simply cannot replicate.
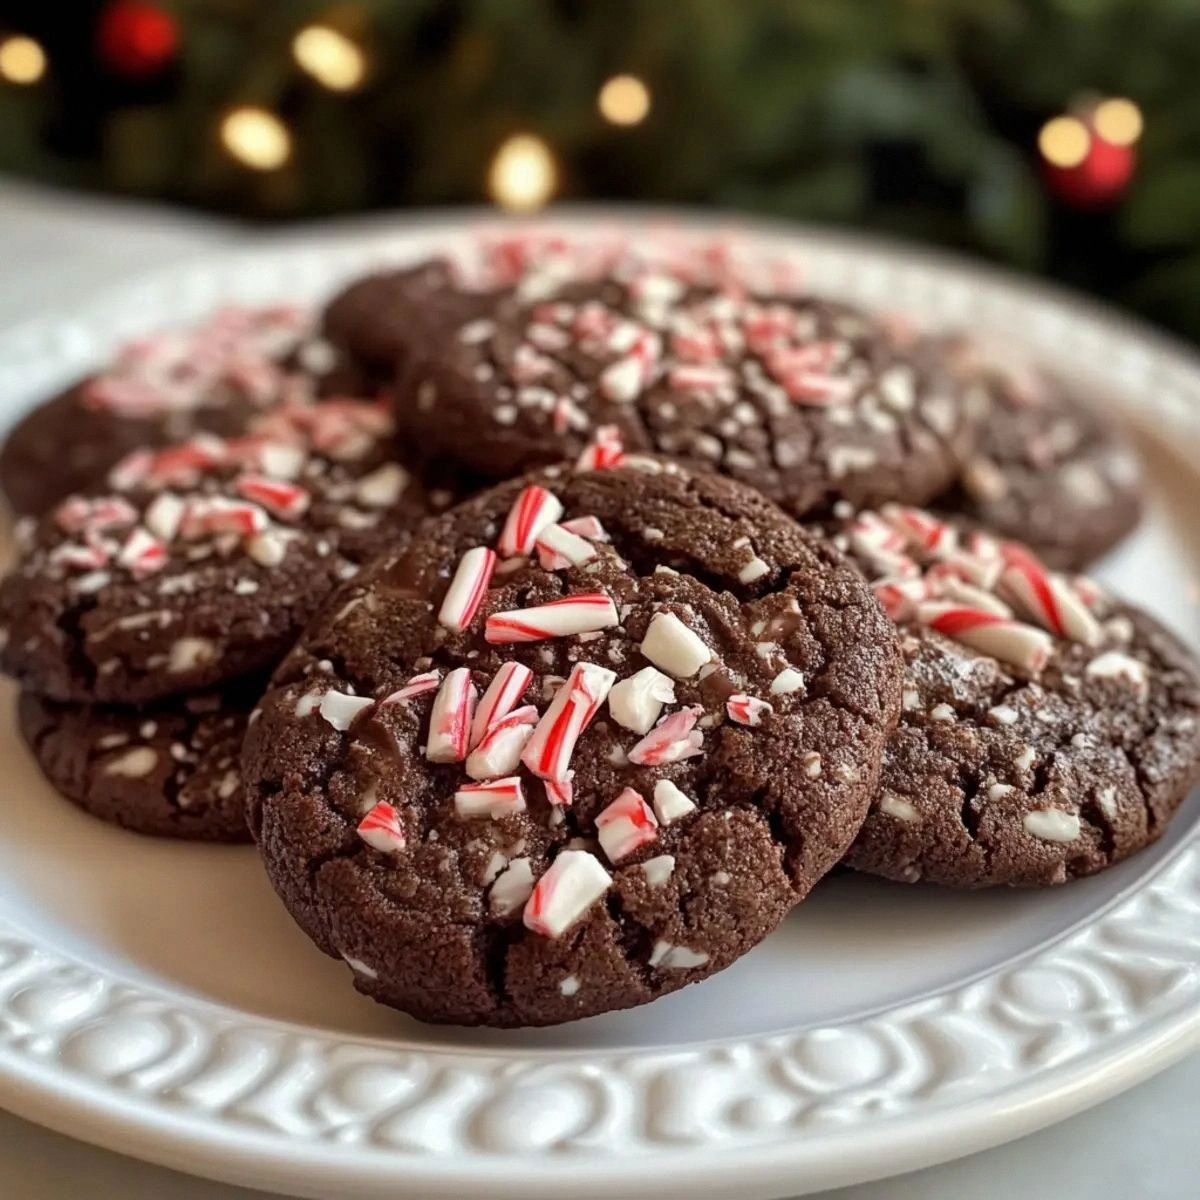
- Crowd Reaction: These cookies disappear faster than you can say “Merry Christmas,” making them perfect for parties, gift‑giving, or solo indulgence.
- Make‑Ahead Potential: The dough can be frozen for up to a month, letting you bake fresh cookies on demand.
- Visual Appeal: The red‑white speckles from the crushed candy canes turn each cookie into a tiny festive work of art.
- Versatility: Swap the peppermint bark for white chocolate or add a dash of espresso for a grown‑up twist.
Inside the Ingredient List
The Flavor Base
All‑Purpose Flour is the structural backbone of any cookie, providing the necessary gluten network that holds everything together. Using a full‑strength flour ensures the cookies stay chewy rather than crumbly. If you substitute cake flour, expect a softer, more delicate crumb that might not stand up to the heavy chocolate and peppermint.
Cocoa Powder brings that deep, almost earthy chocolate flavor that makes these cookies feel luxurious. Opt for unsweetened Dutch‑process cocoa for a smoother, less acidic taste; if you only have natural cocoa, you might notice a slight bitterness, but that can be balanced with a pinch more sugar.
The Texture Crew
Granulated Sugar does double duty: it sweetens and also helps create a slight crispness on the cookie’s edge. Because we’re aiming for a chewy interior, we keep the sugar ratio moderate; too much sugar would dry the cookies out.
Butter, melted and then cooled, contributes richness and a tender crumb. Using unsalted butter lets you control the salt level precisely—essential for that perfect balance between sweet and peppermint.
The large egg acts as an emulsifier, binding the fat and dry ingredients while adding a subtle lift. If you’re allergic, a flax egg (1 tbsp ground flaxseed + 3 tbsp water) can substitute, though the texture will be a tad denser.
The Unexpected Star
Ghirardelli Peppermint Bark is the hero of this recipe. Its layers of dark chocolate and peppermint-infused white chocolate melt into the dough, creating pockets of minty bliss that burst when you bite. When shopping, look for the version with real peppermint oil for authentic flavor; the cheap versions often use artificial flavor that can taste harsh.
Crushed Candy Canes provide that festive crunch and a pop of color. By adding them at the very end of mixing, we preserve their crispness; if they’re mixed in too early, they’ll dissolve into the dough and lose that satisfying snap.
The Final Flourish
Baking Soda is the leavening agent that gives the cookies a subtle rise, ensuring they’re not flat and dense. It also helps the cookies spread just enough to develop those golden edges that pull away from the pan.
A half‑teaspoon of salt may seem trivial, but it amplifies the chocolate’s depth and balances the sweetness of the sugar and peppermint bark. Skipping the salt is a common mistake that leaves cookies tasting one‑dimensional.
Everything's prepped? Good. Let's get into the real action...
The Method — Step by Step
Preheat your oven to 350°F (175°C) and line two baking sheets with parchment paper. As the oven warms, the kitchen will begin to fill with a faint cocoa scent that hints at what’s to come. This is the moment of truth: if your oven temperature is off even by a few degrees, the cookies can end up too flat or overly crisp.
Kitchen Hack: Place a second rack in the oven and rotate the sheets halfway through baking for even browning.In a large bowl, whisk together the flour, cocoa powder, baking soda, and salt until fully combined. The cocoa will darken the mixture, giving you a visual cue that the chocolate is evenly distributed. This dry blend ensures that there are no pockets of flour or cocoa that could create uneven texture.
In a separate saucepan, melt the butter over low heat, then remove from heat and let it cool to lukewarm. Add the granulated sugar and whisk until the mixture looks glossy and slightly thickened. This step is crucial because a warm butter‑sugar mixture helps dissolve the sugar, creating a smoother dough.
Beat in the egg until fully incorporated, then stir in the vanilla extract (if using). The mixture should become a thick, velvety batter that clings to the spoon. Watch Out: Over‑mixing at this stage can develop too much gluten, leading to tougher cookies.
Gradually add the dry ingredients to the wet mixture, stirring with a wooden spoon until just combined. The dough will look a bit shaggy and may stick to the sides of the bowl—that’s normal. Resist the urge to over‑mix; stop as soon as you no longer see streaks of flour.
Fold in the chopped Ghirardelli Peppermint Bark, allowing the chocolate chunks to distribute evenly. Then, gently fold in the crushed candy canes, reserving a small handful for topping later. The dough should feel thick but pliable, almost like a soft play‑dough.
Cover the bowl with plastic wrap and place it in the refrigerator for at least 30 minutes. This chilling step is pure magic: it solidifies the butter, which in turn slows spreading and gives the cookies that coveted chewy center. While you wait, you can set the table or sip a hot cocoa.
Watch Out: Skipping the chill will cause the cookies to spread too thin and lose their chewy texture.Scoop rounded tablespoons of dough onto the prepared sheets, spacing them about 2 inches apart. Lightly press the tops with the back of a spoon and sprinkle the reserved crushed candy canes on each cookie for that final festive sparkle.
Bake for 10‑12 minutes, or until the edges are set and the tops have a slight sheen but the centers still look soft. The cookies will continue to cook on the hot sheet after removal, so pulling them out at the right moment is essential. When you see the edges start pulling away from the parchment, that’s your cue.
Allow the cookies to cool on the sheet for 5 minutes before transferring them to a wire rack. As they cool, the chocolate shards will firm up, creating that satisfying snap you love. Once cooled, store them in an airtight container and watch them disappear within hours.
That's it — you did it. But hold on, I've got a few more tricks that'll take this to another level. Stay with me here — this is worth it.
Insider Tricks for Flawless Results
The Temperature Rule Nobody Follows
Never bake cookies straight from a warm kitchen; always let the dough sit at room temperature for a few minutes after chilling. This small adjustment ensures the butter softens just enough to spread evenly, giving you that perfect balance between chewy center and slightly crisp edge. One time a friend tried to rush the process, and the cookies turned into flat, hard disks. Trust me, the extra minute makes a world of difference.
Why Your Nose Knows Best
When the cookies are baking, trust the aroma as much as the timer. Around the 9‑minute mark, you’ll notice a sweet, chocolatey perfume that’s tinged with peppermint; that’s the signal that the interiors are set but the edges are still soft. If you rely solely on the clock, you risk over‑baking and losing that coveted chewiness.
The 5‑Minute Rest That Changes Everything
After you transfer the cookies to a wire rack, let them rest for exactly five minutes before sealing them in a container. This brief pause allows steam to escape, preventing condensation that would otherwise make the cookies soggy. I once tried to stack them while still hot, and the bottom cookies turned into a mushy mess—lesson learned.
Double‑Layer Baking for Extra Crunch
If you love an extra crunch on the bottom, place a second parchment sheet on a lower rack and bake the cookies on both racks simultaneously. Rotate the trays halfway through. The result is a cookie with a caramelized underside that adds a delightful textural contrast.
Freeze‑Ahead Dough for Holiday Parties
Prepare the dough up to the chilling step, then portion it into a freezer‑safe bag, flattening it into a slab. When the party day arrives, simply thaw for 30 minutes, slice, and bake. This saves you precious time on the day of the event and guarantees consistent results.
Creative Twists and Variations
This recipe is a playground. Here are some of my favorite ways to switch things up:
White Chocolate Peppermint Dream
Swap the dark cocoa powder for an equal amount of white chocolate chips, and use white chocolate peppermint bark instead of the dark version. The result is a lighter, sweeter cookie that still delivers that peppermint punch—perfect for those who prefer a milder chocolate flavor.
Espresso‑Peppermint Fusion
Add a tablespoon of finely ground espresso to the dry mix. The coffee notes deepen the chocolate, creating a sophisticated flavor that pairs beautifully with the bright peppermint. Coffee lovers will thank you.
Nutty Crunch Variation
Fold in a half‑cup of toasted chopped hazelnuts or almonds along with the peppermint bark. The nuts add an earthy crunch that balances the sweet and minty elements, making each bite more complex.
Spiced Holiday Twist
Incorporate a pinch of ground cinnamon and a dash of ground ginger into the dry ingredients. This subtle spice layer evokes classic holiday flavors without overwhelming the peppermint.
Vegan Friendly Version
Replace butter with coconut oil and the egg with a flax “egg.” Use a vegan peppermint bark (available in many health food stores). The texture remains chewy, and the flavor stays true to the original.
Storing and Bringing It Back to Life
Fridge Storage
Place the cooled cookies in an airtight container and store them in the refrigerator for up to one week. The cool environment keeps the chocolate from blooming and preserves the peppermint’s bright flavor. If you notice the cookies getting a little firm, let them sit at room temperature for 15 minutes before serving.
Freezer Friendly
Layer cookies between sheets of parchment and seal the container or zip‑top bag. They’ll stay fresh for up to three months. When you’re ready to enjoy them, pop the desired number into the oven at 300°F (150°C) for 5‑7 minutes; the gentle heat revives the chew without drying them out.
Best Reheating Method
To bring a day‑old cookie back to its former glory, place it on a microwave‑safe plate, add a tiny splash (about a teaspoon) of water next to it, and microwave for 10‑12 seconds. The steam generated re‑hydrates the interior, while the outer surface quickly regains its glossy sheen. This trick works wonders for cookies that have become a bit too firm.